


How To Clean a Faucet Head and Restore Water Flow
Faucets aren’t easy to wipe down, and you might find yourself tempted to skip the chore entirely. However, failing to clean your faucet can lead to costly issues like limescale buildup, mineral deposits, hard water stains, rust or mold. Let’s consider why it’s important to clean your faucets regularly.

Why Not Cleaning Your Faucet Is a Problem
Before detailing how to clean your faucet, we must understand why it’s necessary. The short answer? Cleaning your kitchen and bath faucets maintains sanitation, keeps your water lines clear and prevents water waste. Here’s how it happens.
The water in your pipes can contain a variety of additives and naturally occurring minerals like calcium, trace organic substances like dirt and trace metals. Over time, these impurities can build up around the faucet’s spout, mesh and aerator as you run the water. If you don’t wipe these minerals away, they could dry and harden. That’s where the trouble begins.
-
Mineral buildup around your faucet can block water flow. Blocked flow can cause backups and increase pressure in the pipes, leading to further issues and making everyday tasks harder.
-
Improper flow and damaged fixtures can waste water and energy, causing higher utility bills.
-
The pores and crevices formed by hardened, built-up minerals are breeding grounds for bacteria, mold and dust.
-
Accumulated minerals and rust could affect the appearance and taste of your water. They could also be harmful if ingested.
The longer you leave buildups around your faucet, the worse the issue can become. It’s better to clean your faucet and its components regularly to prevent problems.
Where To Start Faucet Cleaning: Nozzle, Aerator and Screen
If you notice poor flow, chalky buildups, rust-colored stains or unpleasant growths around your faucet, a good cleaning is overdue. Cleaning should focus on three primary areas:
-
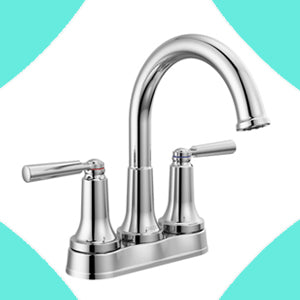
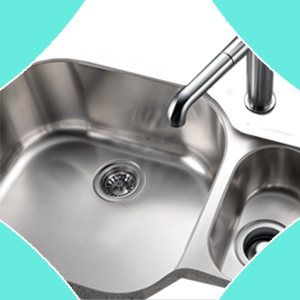
The spout: The opening where the water comes out of the faucet.
-
The aerator: The small nozzle that screws onto the end of most spouts. It controls flow, adds air to the water and prevents splashing.
-
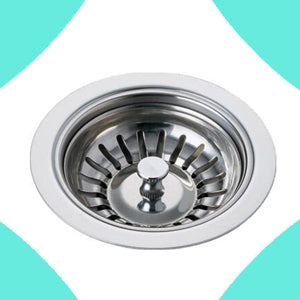
The screen: The mesh insert inside most aerators that filter out sediment and debris.
Of course, you won’t want to neglect other parts of your faucet, like the base and taps. Buildups and deposits in these areas might indicate leaks and water intrusion. They can also make it harder to use drain stoppers or turn the water off and on.

Cleaning Your Faucet Head: A Step-by-Step Guide
There are many ways to clean your sink faucet, and plenty of products to help you do it. However, you probably have everything you need at home. Below, we’ve outlined two convenient methods for cleaning faucet heads using simple white vinegar.
Method 1: The Vinegar Soak
Note: This method may only be safe on certain faucet finishes. See our chart under “How To Protect Your Faucet Finish When Cleaning” for details.
Vinegar is an effective, non-toxic solution that can break down hard buildups and keep your faucet looking great. When cleaning faucets with vinegar, you won’t need to remove the faucet head, and you often don’t even need any tools.
-
Prepare the solution: Mix equal parts of warm water and white distilled vinegar in a small plastic bag or rubber glove.
-
Dip the spout in the solution: Place the bag/glove over the faucet head so the aerator is fully submerged in the vinegar solution.
-
Secure the bag: Use a rubber band or twist tie to fasten the bag tightly around the faucet neck.
-
Soak: Leave the bag in place and let the fixture soak for 30 minutes to 1 hour. For heavy buildup, soak for up to 4 hours.
-
Rinse and wipe: Remove the bag and run hot water to flush loosened debris. Wipe the faucet surface dry with a soft cloth.
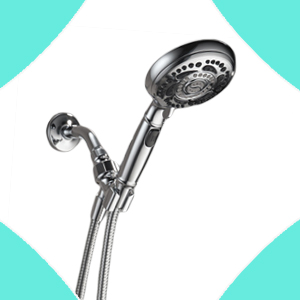
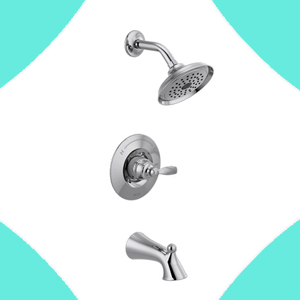
Besides being a great method for sink faucets, a vinegar soak is perfect for cleaning showerheads and tub faucets.

Method 2: Detailed Aerator Screen Cleaning
If the flow remains weak after you clean the faucet’s exterior, unscrew the nozzle for a deeper clean.
-
Before you begin: Turn off the taps and close or cover the sink drain to prevent small parts from getting lost. You don’t have to turn off the water supply unless you want to.
-
Disassemble the nozzle/aerator: Unscrew the nozzle from the spout. You can usually do this with your hands, but you can also use a soft cloth and/or channel-lock pliers for grip. Cover the nozzle with the cloth before using the pliers to avoid damaging the finish. A little residual water leakage while unscrewing the nozzle is okay.
-
Remove the nozzle components: Most nozzles contain components like a rubber gasket, a metal ring and the screen. Note their positions in the nozzle as you separate them for cleaning.
-
Scrub and Soak: Use an old toothbrush or sponge to scrub visible debris from the screen. Add mild dish soap as needed. For stubborn clogs, soak the components in hot water and vinegar for 10 minutes.
-
Reassemble the faucet: Rinse all parts thoroughly with clear water and reassemble them in the correct order. Run the faucet for 30 seconds to flush any remaining debris.
How To Protect Your Faucet Finish When Cleaning
When cleaning your faucet head, you’ll want to protect the different components and, importantly, the finish. While most modern faucet finishes are durable, they aren’t damage-proof. To remove limescale and hard water stains without damaging the finish, remember the following.
|
Faucet Finish Type |
Recommended Solution |
Things To Avoid |
|
Chrome, Brushed Nickel, Stainless Steel |
Mild dish soap and water, or a diluted vinegar solution. Use vinegar and water in a 1:1 ratio. |
Avoid harsh scrubbing pads. |
|
Matte Black, Gold, Bronze, Copper |
Mild soap, warm water and a soft cloth. Use citric acid-based cleaners instead of vinegar. |
Avoid vinegar solutions or harsh commercial cleaners, as the acid can damage the finish. |
Other Faucet Maintenance Tips
Besides the cleaning methods we’ve described, other ways to care for your faucets include.
-
A daily wipe-down is one of the most effective ways to prevent impurities from building up. After you’re done using the sink for the day, wipe it with a washcloth or microfiber cloth. You can also use mild soap or finish-safe cleaning solution at this time.
-
Avoid abrasive cleaners and harsh chemicals when cleaning your faucet. Lye, caustic powders, strong acids, and even baking soda might damage certain fixtures.
-
Consider adding additional water filtration to reduce impurities that cause buildup. Filtration systems range from under-sink attachments to whole-home setups. Many smaller options are affordable and easy to install.

If you follow these steps and hard buildups are still proving hard to remove, it may be time to replace your faucet. Newer faucets are often easier to maintain and clean, and many resist mineral buildup better than older models.
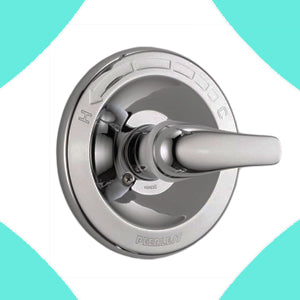
Shop Recertified Faucets at Mintera
If it’s time to replace your old faucet, why pay full price when you can get a mint-condition one for less? Mintera is keeping new, unsold fixtures out of landfills and passing them onto you at steep discounts. Shop mint-condition kitchen and bath faucets from top brands like Delta, Kraus and Peerless for an easy-clean faucet that adds a touch of sparkle to your space.


